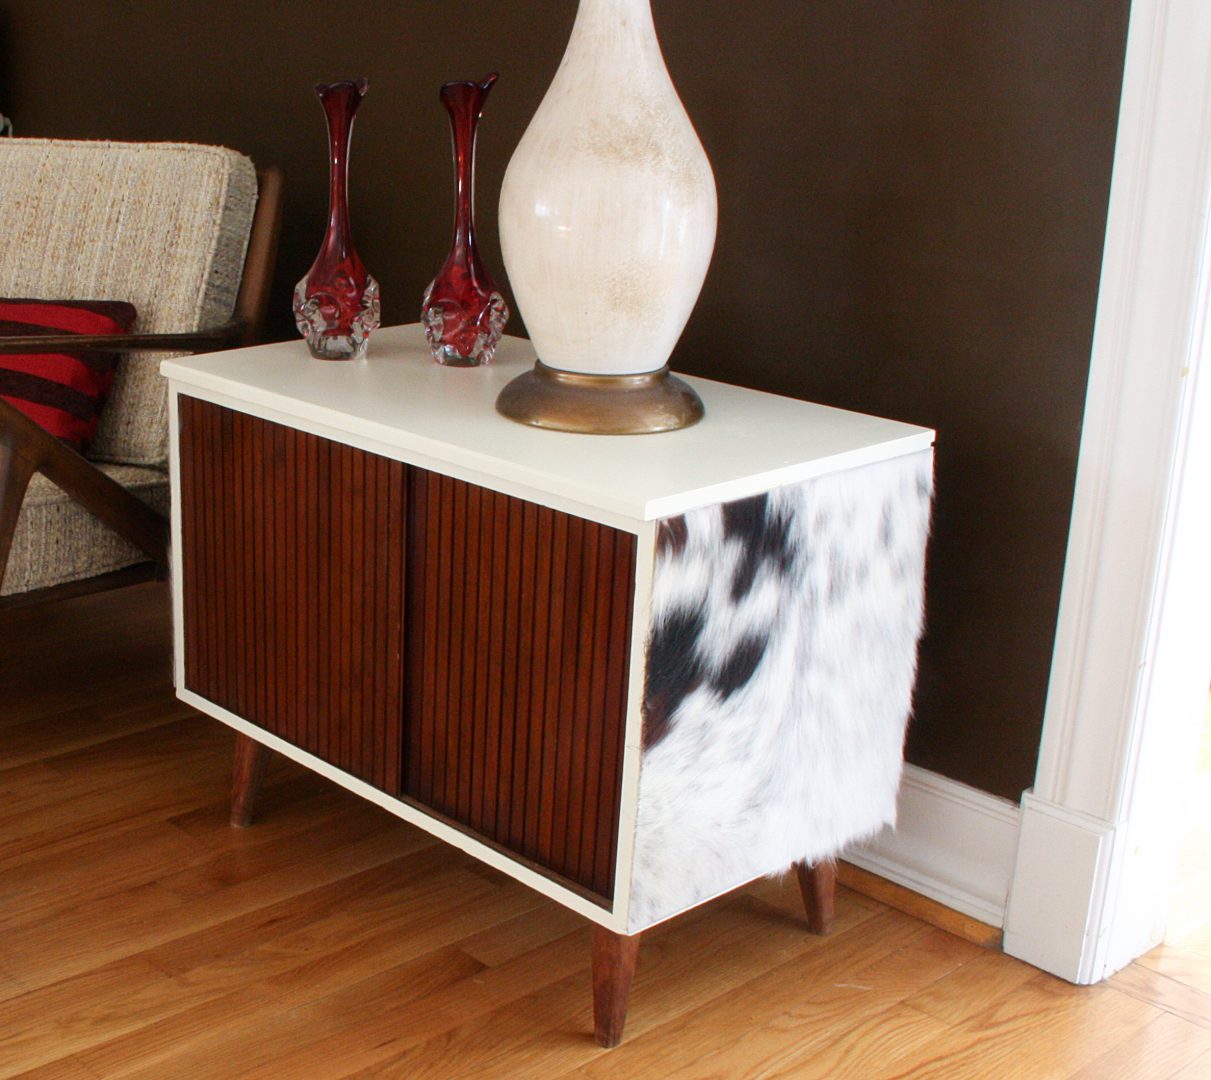
Hide Sided Record Cabinet Makeover

Most folks struggle to see hidden potential in a piece of old, castoff furniture. Often, that’s justifiable. Who would want to throw good money into a piece of junky furniture? Flipping furniture can get pricey, especially if it’s simply a mediocre piece. So, how do you know? Research and reading can teach you how to become more discerning. The Slow Furniture Movement is ‘literally’ having a slow time gaining momentum. I’ll address that in another post. Today, I just want to whet your appetite for a dandy little project that could inspire you to do some of your own, small batch flipping.
Clearly, it can be difficult to imagine what isn’t there yet. I get it. You can scan Pinterest to find some inspiration, but you won’t come across much originality. To come up with something 100% YOU is not as easy. And that’s not to even mention the naggy little voice in your head that repeats over and over that you’re not creative or clever enough to uplevel something bland into something spectacular? Hey, we all have those thoughts. The best antidote is to just keep trying. Learning about sanding, cleaning wood, painting, repairs, and other techniques and skills is fairly easy. But, our hands move slower than our minds. You might feel that actually doing the project is taking way longer than it should. Here’s a tip, there is no set time these projects should take. It’s your very own project. If you LEAN IN to the steps and the delicious handwork, you might be surprised at how much more you get out of the work than simply a re-imagined piece of furniture.
Not everyone is brave enough to dip their toe into the world of furniture flipping. But if you do fancy this tactile handcraft, the hunt usually brings unspeakable excitement, gets the creative juices flowing on the spot, the planning puts The Organizer in you to work preparing for the flip, and the actual handwork is just about the most satisfying soul-filling activity you could ever imagine. That’s just my opinion (and about 350 people who have walked through my workshop doors.)
But, you have to take action. Don’t spend too much time strategizing and planning. That may mean a few pieces flop. So what?! That’s the learning process. In fact, in this type of work, it’s the BEST learning process.
If you can shed the self criticism and perfectionism, beautiful things await you on the other side.
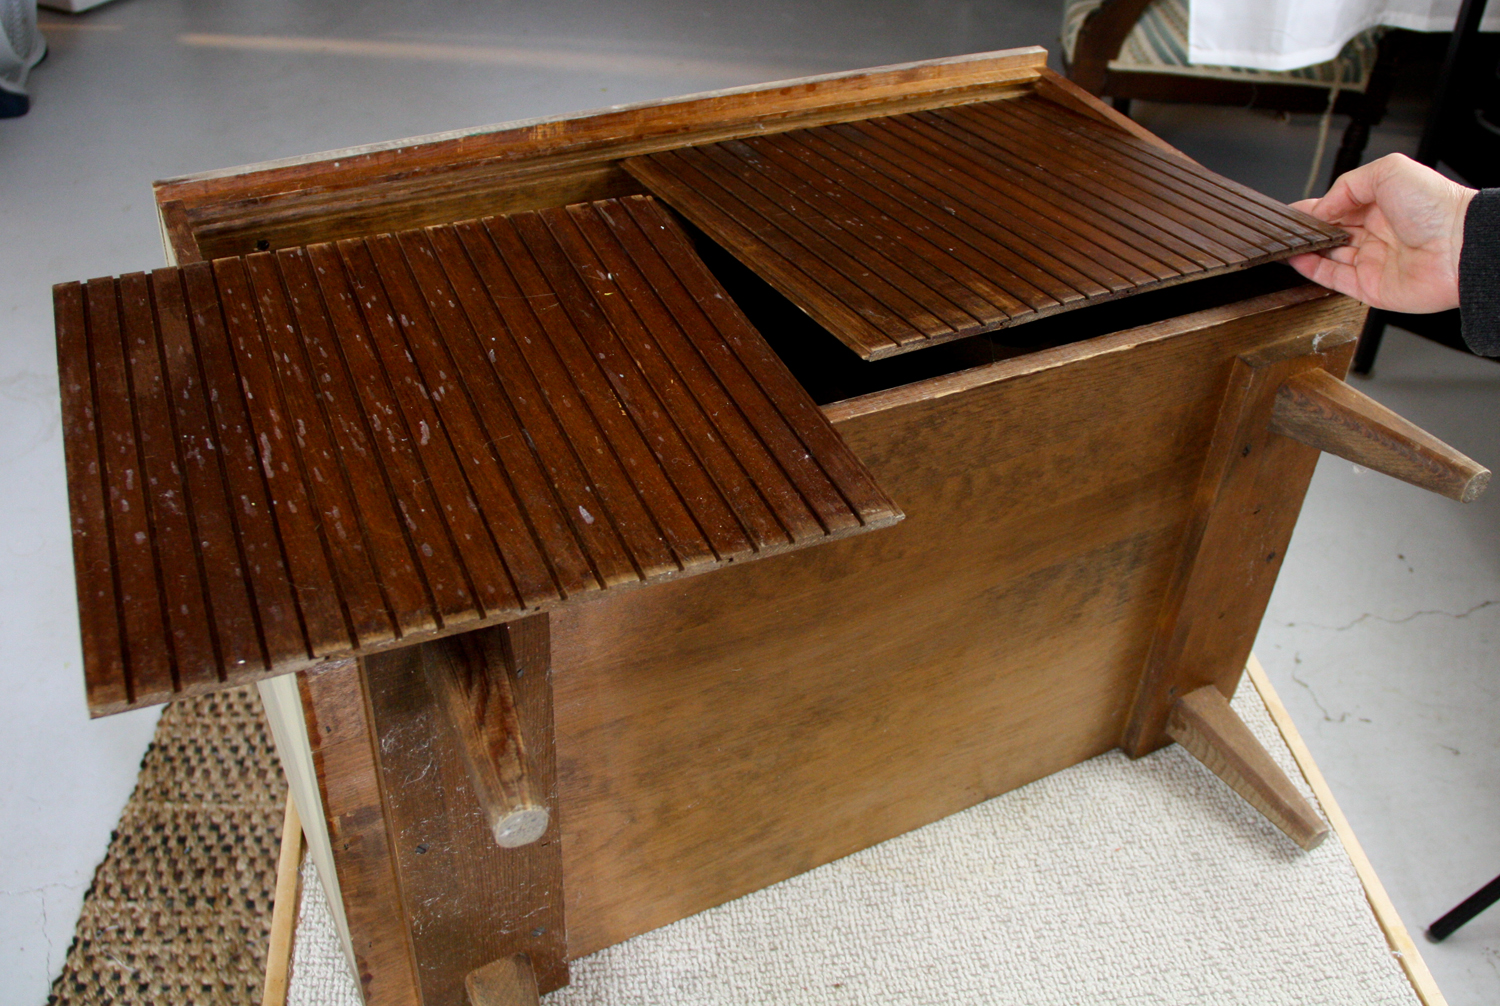
This old record cabinet was picked up at a Goodwill store for next to nothing. Look around your house, there’s likely a piece screaming for your unique vision and ideas.
Here’s what you need:
- furniture cleaner
- sand paper or sanding pad
- primer
- latex enamel paint
- fine steel wool
- pieces of spotted cowhide large enough to cover the sides of the cabinet
- Old Gold furniture oil
- contact cement
- and a nice spotted hide to cut up
Tools
- small foam paint roller and tray
- sharp utility knife
- ruler
- 1 1/2″ foam paintbrush
- roller or brayer
Instructions
1. Remove the sliding doors
2. Wipe off the entire cabinet, inside and out.
3. Lightly sand the entire outside of the cabinet. Wipe with a clean cloth.
4. Prime the outside of the cabinet. Then paint the outside, being careful not to get paint in the sliding door tracks.
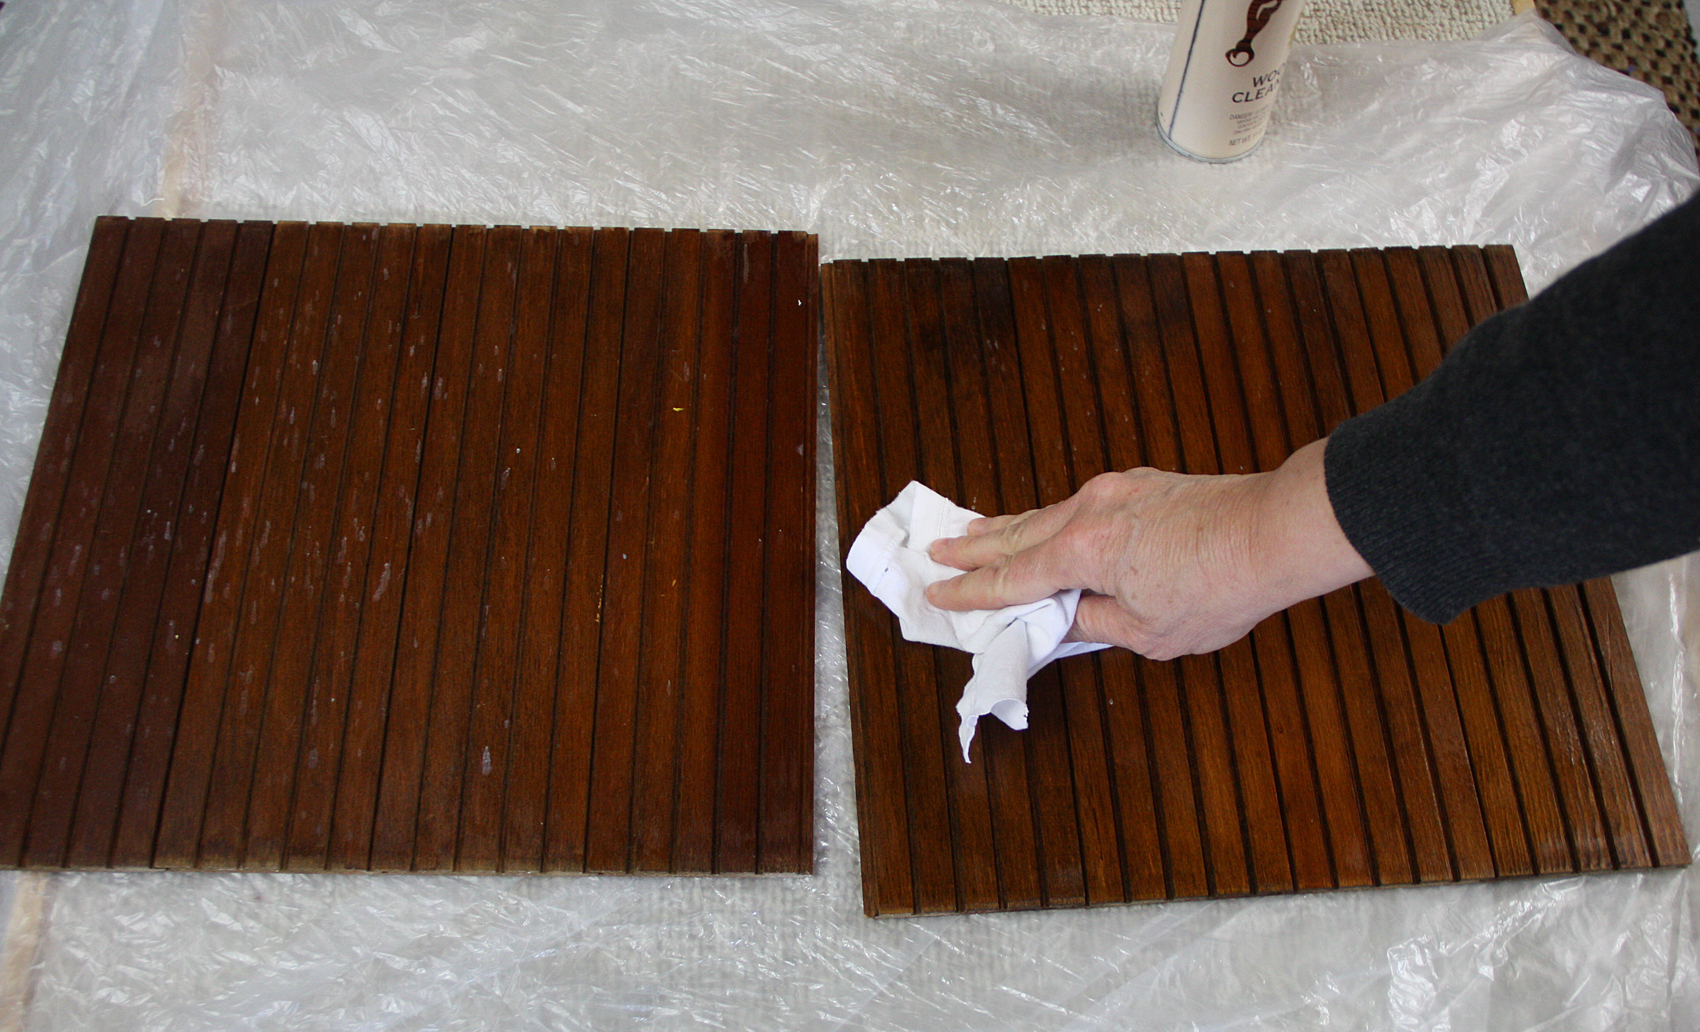
5. Use steel wool to clean up the doors, then use Old English or other furniture oil to really make them shine.
6. Now, measure the sides to cut out your pieces of hide. Make a pattern, if necessary.
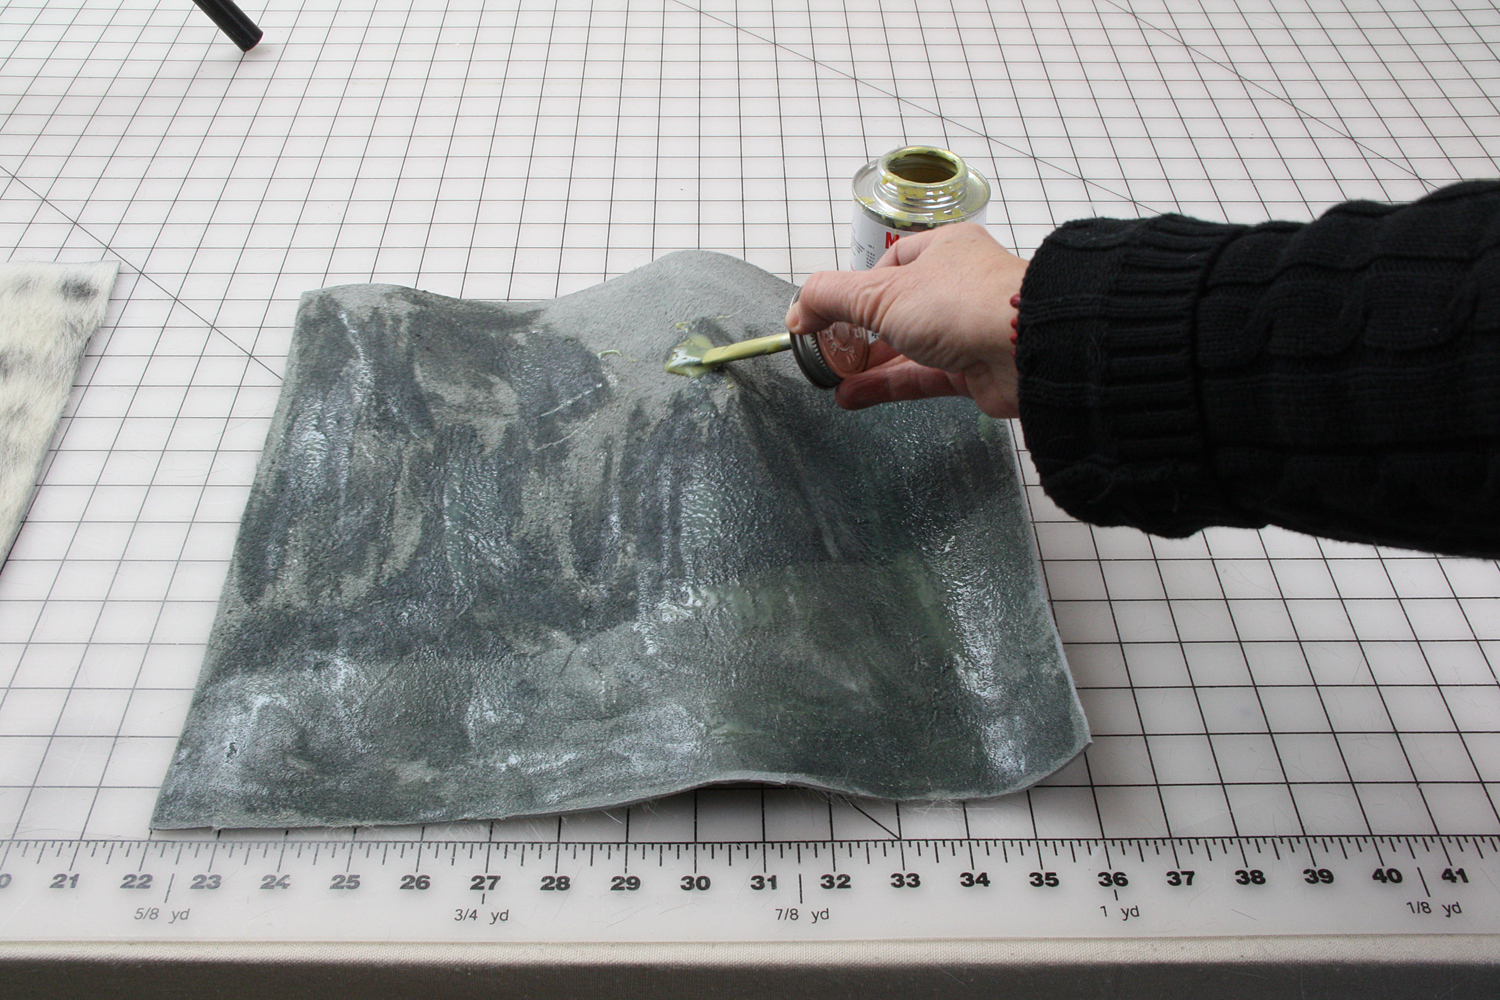
7. Flip the pieces of hide over and paint contact cement all over the under side.
8. Paint contact cement onto the cabinet sides. Let it get a little bit tacky, per instructions. Carefully adhere the cowhide to the 9. Adhere hide to the cabinet sides, using the brayer to roll the hide smooth. No bubbles.
10. Replace the doors.


There you have it. This gem was just granted another life and did not have to take a trip to the dump. Thank you.
